Unity Light Baking
Baked lighting
The following write up is about Unity Light Baking for realistic output which can be mainly used for Virtual Reality based products that work on Oculus Rift based apps.
Pre Unity Process:
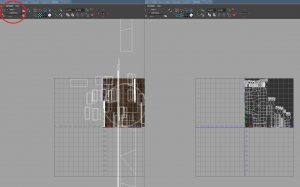
When the models are ready to be exported to Unity we have to check the UV Channels. So I created UV-Map_1 for Diffuse texture and UV-Map_2 for Lightmap.
The UV map for Lightmap can be created by selecting the model and giving an Automatic map (Either in Maya or 3ds Max). This is done so that we don’t get uneven UVs in Unity’s auto-generated method.
Shown below is the example of the UV channels with UV’s in Maya
Do You Want A Comprehensive Look Into How We Execute Our Game Development Projects?
Download Our Case Studies
Unity Scene Process
Once we are ready with this scene, we will export in .fbx format and import in Unity.
Pro Tip: While importing into Unity, go to import setting and in the materials, tab goes to ‘Material naming’ option and switch it to ‘by Model Material Name’, so that the material’s names that were given in Maya will be imported into Unity.
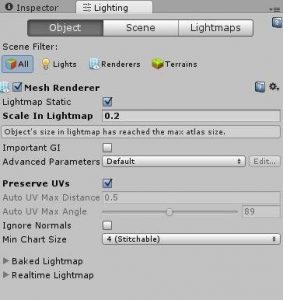
After this step, we will have to check all the models as ‘Lightmap Static’ in the Lightmap Tab (This can be found in WINDOW tab). Change the values in ‘Scale in ‘Lightmap’ to lower values as per the model’s size in the scene and UV map.
Pro Tip: Smaller objects get lesser value than the larger models. This helps in reducing the number of Lightmaps as well.
Shown below are the Light map settings for a model.
In the Light map tab, we have to do some settings in the ‘Scene’ tab to get the desired output. We went with the following settings shown below.
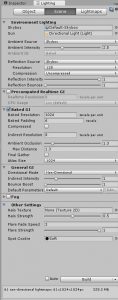
A baked resolution, Baked Padding and Indirect Resolution can be reduced depending on the quality needed. Lesser the value, lessen the quality of light and shadows.
The time taken for Lightmap generation is going to be affected by the above changes. For us, it took roughly about 10 Hrs.
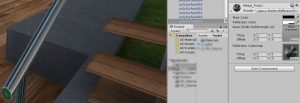
Pro Tip: If there are any metal models in the scene, they can be kept out of the lightmap static option. Just disable the Light map Static option in the Light map tab. Apply a cube map to the metal/Steel model to give shining effect.
Pro Tip: You can Light map the scene with single directional light, but this isn’t sufficient to get the light inside the rooms. So you can place are lights at the windows and point lights in areas where light is not cast properly.
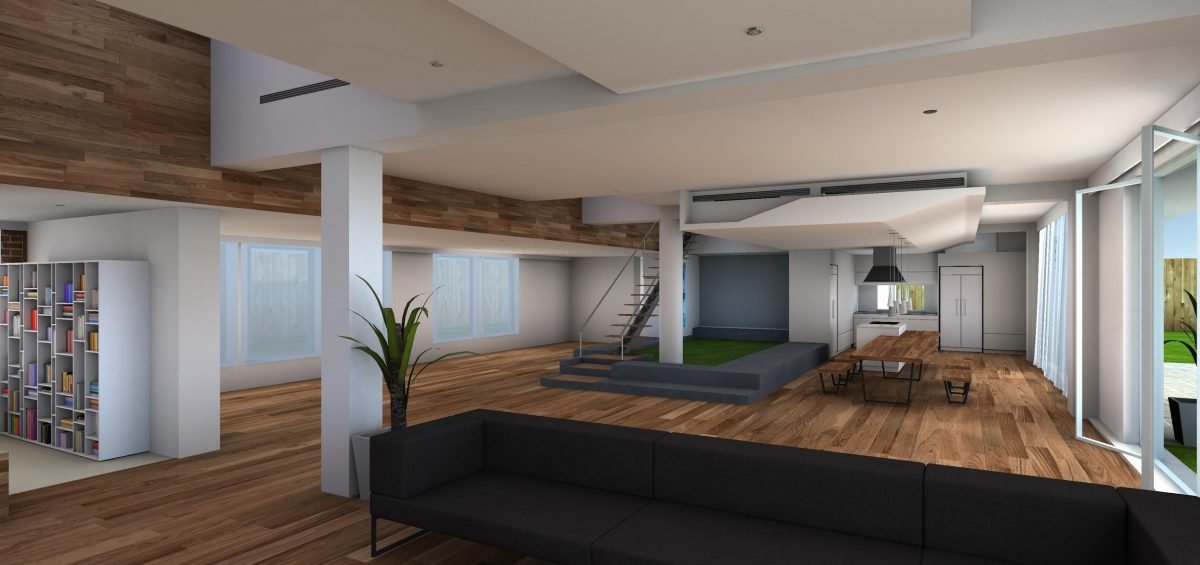
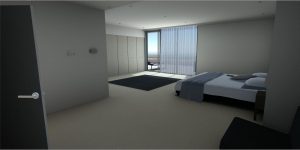
Once the Light map process is done we had the following output
Challenges faced:
Getting the Light map count lesser, while keeping the quality at par was one of the major challenges. We had to Lightmap multiple times for the same, with different settings.
There were few glitches in the model’s UV maps which showed up after the Light map was completed. Getting these glitches rectified required some time which hampered the time to create the Lightmaps.
Take a Look at How We Find Solutions to Overcome Interesting Game Development Challenges.
Download Our Case Studies
Game development in Unity 3D will be definitely fun,easy and challenging. All you need is, comprehensive knowledge of the unity engine.
Get In Touch
Recent Posts
- Top 5 Mobile Game Development Companies in India (2026 Buyer’s Guide)
- Unity 3D Game Development: Why Leading Studios Choose Unity for Scalable Production in 2026
- Top 5 Game Development Companies in San Antonio (2026 Ranked List)
- Top 5 Game Development Companies in Bahrain: 2026 Comparison
- Top Game Development Companies in Qatar: A Decision Guide for 2026
- Top Game Development Companies in Los Angeles: 2026 Comparison Guide
- Top 10 Game Development Companies in Abu Dhabi (2026 Guide)
- How Juego Studios Choose the Best Game Engines and Programming Languages for Outsourced Projects
- How Dutch Game Studios Scale Development Teams
- Video Game Character Design Outsourcing: How Studios Choose the Right Art Partner
